With graduation just around the corner, we should all be focusing on finals. However, I spent the night decorating my graduation cap with Daphne! And let me tell you, it was much more enjoyable than studying!
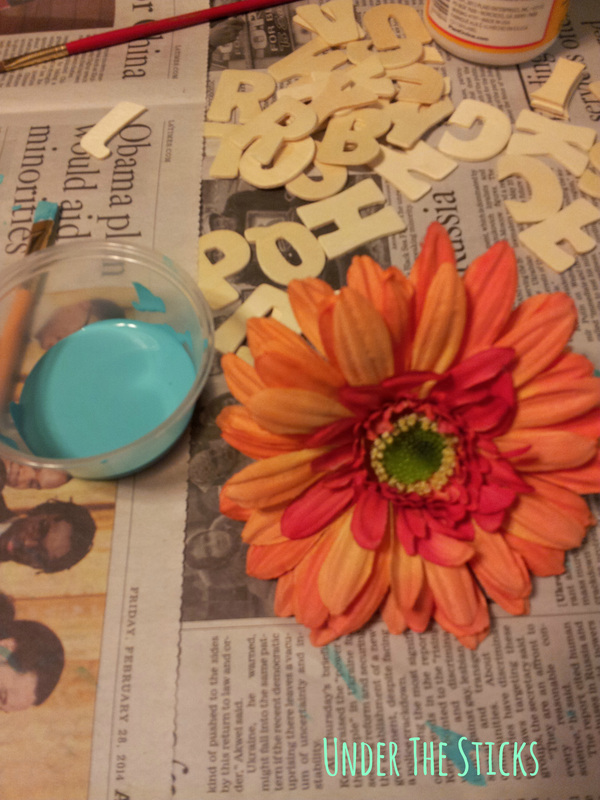
I wanted something simple, but cute. I'm not a huge fan of sequins or glitter, but I wanted my cap to be girly. We set out to Michael's (which was closed), and then to JoAnn's (which was also closed, my goodness!). We finally ended up at Wal-Mart. I knew I wanted to thank my parents on my cap, but I just wasn't sure how to go about doing so. We threw around a couple ideas and decided to have "fraternal twins" caps. We both have crimson tassels as we are Communications majors and tried to tie that into the color scheme as best as we could. We found orange flowers with red accents (yay, crimson!) that we decided to add into our caps. We also decided to find a Caribbean blue color to paint wooden letter blocks with. We also bought orange ribbon. Orange and blue are my favorite colors, so I was already excited with our choices! We purchased the goods and headed home.
Materials:
1. Hot glue gun
2. Wooden block letters
3. Acrylic Paint and paintbrushes
4. Fake flower
Daphne and I each bought a pack of wooden letters; they weren't labeled with a breakdown of how many of each letter was included, but we figured with "Thanks Mom and Dad" and "Daphne", we would be set between the two of us. We were wrong...
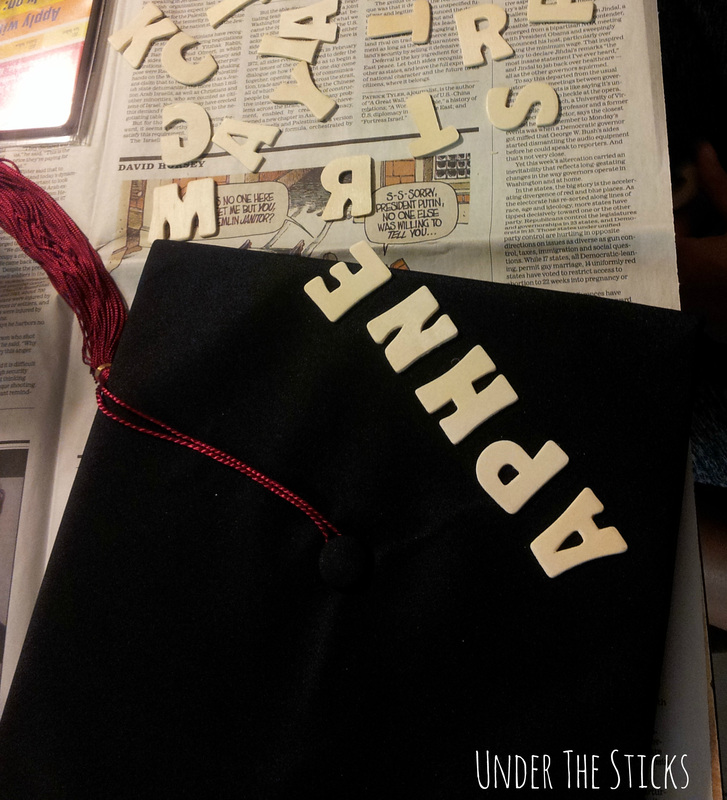
Between the two of us, we only had one letter "d". In fact, Daphne's pack didn't have a single one in it! I mean, really, we only needed a few letters. What were the chances of us missing the few that we needed? We thought it was hilarious, but it did cause some issues. Hey, Wal-Mart, you may want to fix that! We both had to fashion a "d" out of a "c" and "l", MacGyver status!
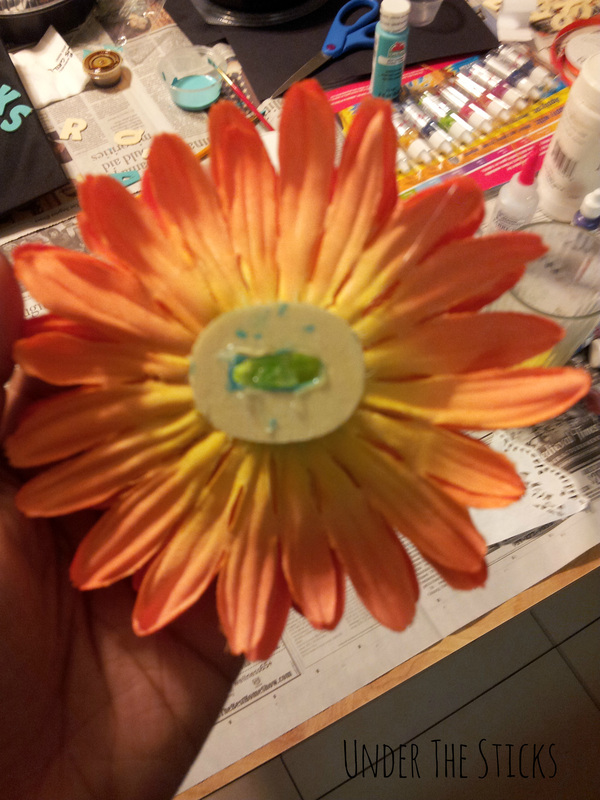
I plucked the stem off of my flower but realized it needed more height. I used a wooden "o" to make it taller by gluing the nub of the flower to the inside of the "o". It worked out perfectly.
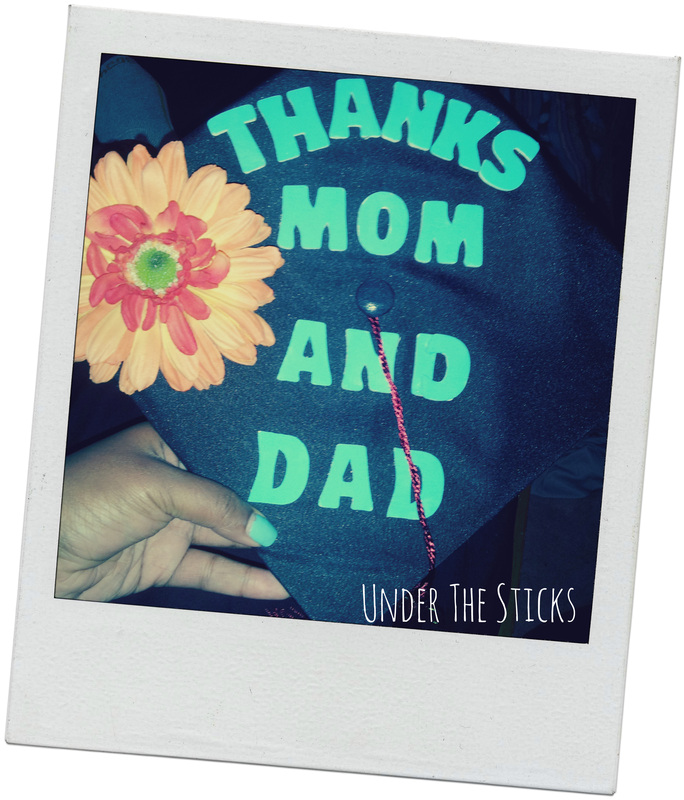
Spacing was an issue, so make sure you map it all out before you start gluing. Also, glue from the outside in, not left to right. I started with "t" and "s" and worked my way inwards to make sure everything fit. Don't forget to be careful with the hot glue gun; I got quite the burn. Also make sure that you use enough glue because my pieces were a bit wobbly afterwards. Handle these with care!
I was so happy with the way my cap turned out. I can't wait to see how everyone else decorated their hats. I expect to see a ton of bows, sequins, glitter, and of course, blue and orange.
What would you put on your graduation cap?
xoxoxo,
natasha
I was so happy with the way my cap turned out. I can't wait to see how everyone else decorated their hats. I expect to see a ton of bows, sequins, glitter, and of course, blue and orange.
What would you put on your graduation cap?
xoxoxo,
natasha
 RSS Feed